Many people know about Bitcoin, because of its recent rise (and soon crash?). However, Bitcoin is just a currency, albeit a crypto one. As such, it’s of very limited interest to me. But it’s based on the concept of blockchain and that seems to be much more interesting. While there are a lot of resources available on the Web regarding blockchain, they mainly focus on the concept of blockchain, or how it works internally, not so much on how you can as a developer use it.
The blockchain implementation I’ll be using will be Ethereum because it’s an already established technology, with a mature ecosystem around it.
This post will describe how to setup the whole tooling around Ethereum, and lay the foundations of the posts to come.
This is the 1st post in the Starting Ethereum focus series.Other posts include:
- Starting with Ethereum - Setup (this post)
- Starting with Ethereum - Writing a contract
- Starting with Ethereum - Deploying and running a contract
- Starting with Ethereum - Smart contracts
- Starting with Ethereum - Industrialization
The Wallet
The wallet is the first step when you want to start working with Ethereum. It’s called a wallet because it does hold the Ethereum currency - called ether. It also holds other custom assets - called tokens.
Ethereum provides such a wallet, just download it from the home page. This software also allows to deploy and run smart contracts.
|
For Mac users, there’s also a Homebrew recipe. To install, type: |
Once installed, launch the application. A network needs to be chosen: choose "Rinkeby" which is a test network. At this point, the blockchain is copied locally. Wait…

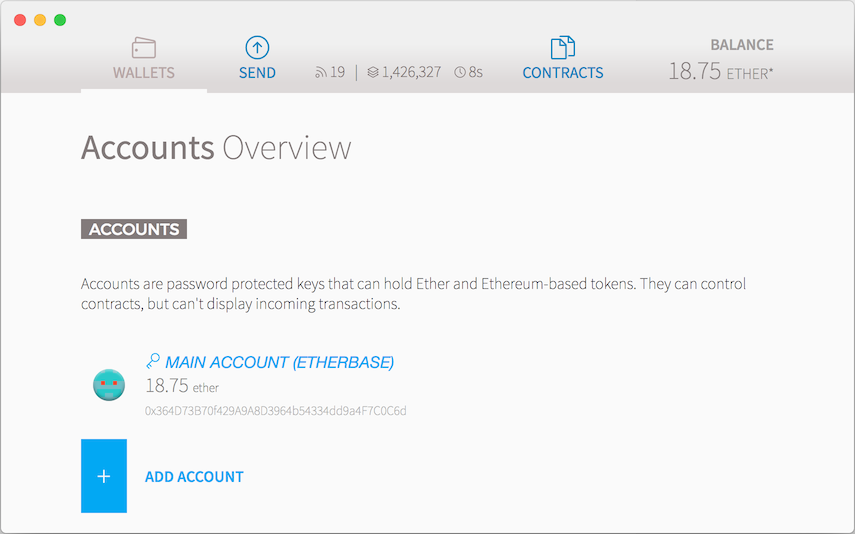
Then, an account needs to be created. Choose a password.

Get funds
Whatever your stance regarding it, money is at the foundation of the world. In Ethereum, this is no different. On the production network, you’d need to buy ethers from a broker. On "Rinkeby" which is a playground network, one can just ask for ethers.
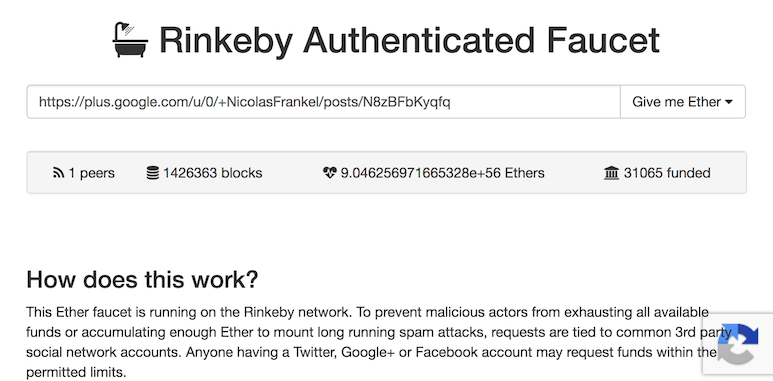
Go on https://faucet.rinkeby.io and follow instructions to receive ethers. You basically have to post your wallet public key on a social network - to prevent abuse. The rate by which one can ask for ethers is also limited, to prevent abuse.

Funds should be available soon after the post has been published on the social network of your choice. Check your account, you should be richer.
|
The rate limit is:
Astute readers might notice that it’s better to ask for less, but then more often (3 ether * 8 hours * 3 times * 3 days = 72 ethers). |
The balance can also be checked on etherscan.io. Just replace the last segment of the URL path with your account public key.
Export/import accounts
Chances are you will have multiple computers, or you will change computer, or even change software. As such, it’s very important to be able to export/import accounts.
Exporting
Within the Ethereum wallet, go to .
On OSX, this translates to ~/Library/Ethereum/rinkeby/keystore.
There should be one keystore file, starting with UTC, which name matches the public key (the one posted on social media previously).
Its content is in JSON format.
Importing
Another available wallet for Ethereum is Metamask, available as a dedicated browser or a Chrome extension.
- Install the Chrome extension - it can be uninstalled just afterwards
- Locate the extension in the browser bar
- Locate the Account button - it’s the second rightmost one
- Choose Import Account
- In Select Type, choose JSON File
- Point to the above file
- Type your account password
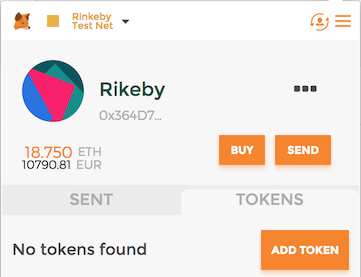
At this point, MetaMask should also display your account and its balance. Notice it’s the same account public key and the same balance.
