
I have spent some time last year implementing Cloudflare Tunnels on my Home Assistant and my Synology NAS. On Mastodon, I had not one but two commenters advertising for Tailscale:
I decided to give it a try and migrate my servers and devices to Tailscale. In this post, I want to describe how I did. Thanks to Heiko Does and higgins for prompting me to look further!
What is Tailscale, how and why?
A Zero Trust identity-based connectivity platform that replaces your legacy VPN, SASE, and PAM and connects remote teams, multi-cloud environments, CI/CD pipelines, Edge & IoT devices, and AI workloads.
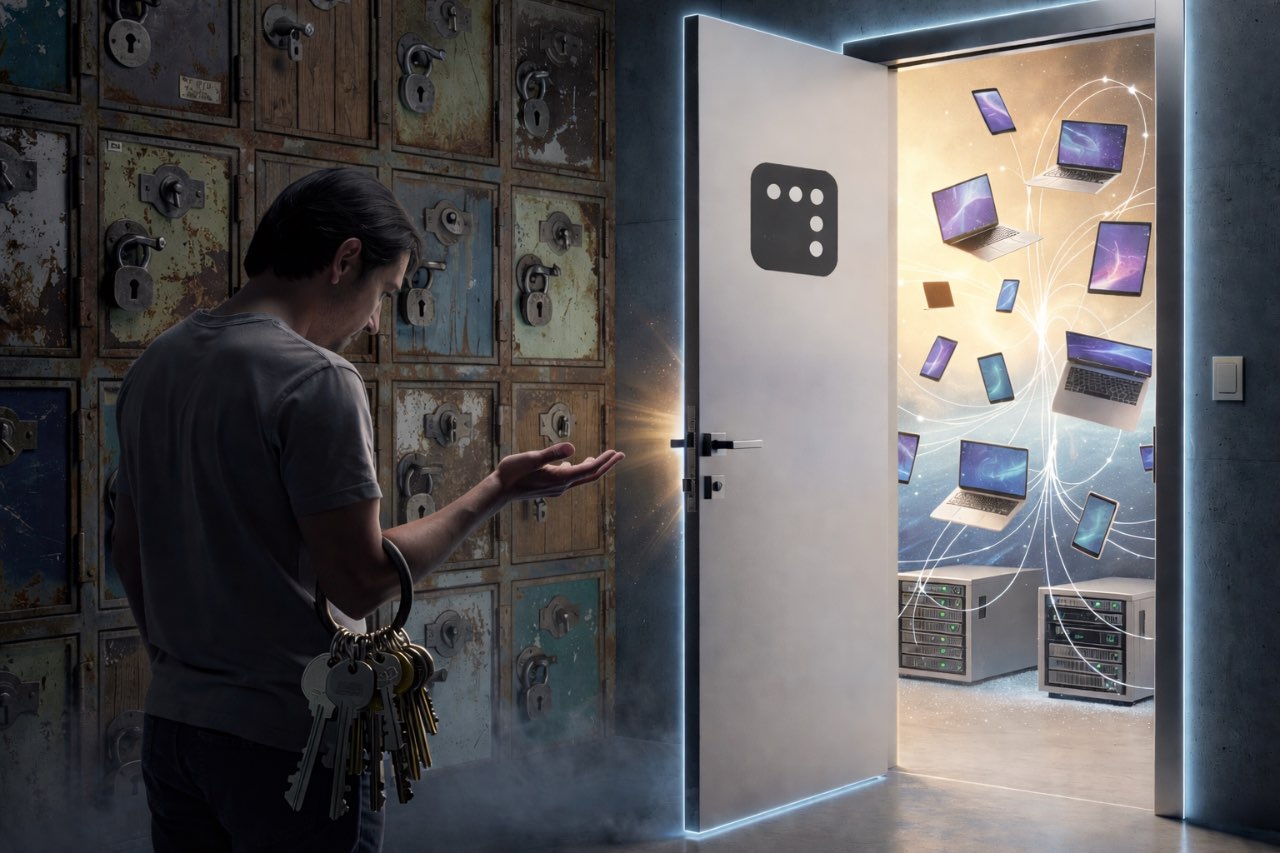
In other words, Tailscale allows creating a mesh VPN that your devices can connect to. Devices can then communicate with each other inside the network, isolated from the rest of the world. With my current Cloudflare Zero-trust setup, the problem is that my user devices aren’t on the network. Hence, I need to provide public endpoints for my services, which come with privacy and security issues.
Tailscale solves them instantly. My user devices on the same isolated network remove the need for public endpoints. At this point, I knew I had to make the move.
Onboarding on Tailscale
The user experience of onboarding on Tailscale is amazing. You chose among a handful of identity providers, and you’re on. Tailscale delegates all authentication to the chosen IdP. Chose wisely: you can’t bind your account to multiple IdPs to have a fallback.
By default, Tailscale onboards you on a 14-day free Enterprise trial plan. You can change to a personal free plan to avoid building on features that aren’t necessary. The plan offers three different users and 100 devices. It’s more than I need.
Adding servers and devices
I added my servers and devices to the mesh by installing Taiscale on each of them, then authenticating with the IdP. Here are the supported OS:
- Linux
- Windows
- macOS
- iOS
- Android
- Synology
I did use the web-based IdP authentication because my servers provide such an interface. If yours don’t, or if your fleet needs solid DevOps practices, you can generate a ready-made script with a dedicated enrolment key. I think there’s even an API for this.
You might have noticed I used two different words: server and device. Devices are tied to a physical person’s identity; servers aren’t. Once authenticated, you can move the server to a tag.
Tags are essentially service accounts, but with more flexibility⎯you can assign multiple tags to a device to account for multiple purposes.
It makes the semantics clearer. I did, even if I’m not sure about the benefits in my single-user setup.
Gains and losses
I migrated from Cloudflare Tunnel and public endpoints to Tailscale. It netted me gains and losses. Here is what I found out.
First and foremost, since I’m running my own mesh, I don’t need to have a public endpoint.
Without an endpoint, I need neither a subdomain nor a TLS certificate that leaks my server’s home IP.
Tailscale provides a dedicated subdomain of ts.net.
You can choose between a random string (I assume it’s your network ID) or a combination of adjective plus noun.
Fun fact: the latter offers 3 choices, but you can "re-roll" until you get something that suits your fancy.
My previous setup with Cloudflare Tunnels worked with HTTP endpoints. Thus, I had no remote SSH access. Now, I can access my servers from my computer remotely, wherever I want. I never needed it before, but it can be very useful during a long trip abroad, when your home infrastructure starts misbehaving.
Likewise, I didn’t create dedicated endpoints to synchronize my pictures and my music on the Synology. I only synchronized through the IP on the internal network. As soon as I connect to Tailscale on my devices, I get both. Given that the iPad version of DS Audio doesn’t offer caching to listen offline, that’s a great benefit.
Tailscale offers a feature called MagicDNS. It allows referencing servers and devices by their name, optionally suffixed by the Tailscale domain name. All in all, you can access them in several ways:
| Type | Example |
|---|---|
IP v4 |
|
IP v6 |
|
Fully qualified name |
|
Simple name |
|
And finally, I could remove all the port forwarding rules on my home router.
All the above are net gains, but there are some losses too. Because I let go of subdomains, I need to remember ports when multiple apps are available on the same host. Tailscale offers services to alias a port, but the Tailscale version that comes with the Synology plugin doesn’t.
By default, Tailscale doesn’t provide TLS over internal servers. It does allow generating certificates, though. I’m too lazy to configure them right now, because the idea of a private mesh should protect from man-in-the-middle attacks. In addition, if Tailscale wants to eavesdrop on the traffic, it could, since Tailscale generates certificates anyway.
The last hurdle is network access from devices that Tailscale doesn’t support, _e.g., smart watches. In theory, I would be able to access my Home Assistant from my Garmin watch via the relevant app. I have installed it, but never used it. With neither a public endpoint nor specialized software, I can’t use it anymore. For this specific use case, Tailscale provides Subnets.
I’ll need to check into the features later.
Conclusion
Migrating to Tailscale was a leap of faith, but I’m very happy I did it. My setup has improved a lot, both in terms of privacy and security. It is also much simpler regarding my requirements. I encourage you to have a look.